
I used a pair of pinking shears to cut the notches in the brown felt to make it look like fancy crust.

I topstiched the brown felt onto the top of the cherry fabric trying to get the cherries to show through some of the holes in the felt.
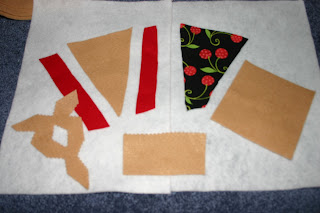
 Take one of the long red pieces and put right sidestogether and sew along the outer edge.
Sew the other red strip on the opposite side.

Here's what it should look like after this step:

Now take the bottom piece right sides together and sew to one red strip. Then stretch it to the other red strip and sew it to the other side of the bottom piece.

This is what it should look like.

The end may have an opening at this point so sew straight across it to ensure it comes to a point.

After you sew across the edge,trim the excess so it doesn't bulk at the end after turning.

At this point turn the fabric and make sure you do not have any holes around the perimeter and at the end.
To make the crust take the long piece of felt and fold in half. Then take the smaller piece of felt that has been cut with the pinking shears and place on top. Sew across the top about 1/2 inch away from the pinking shear cut to hold together.

I will be back to post on how I stuffed and sewed the crust on.
No comments:
Post a Comment