Tuesday, September 13, 2011

Halloween Party Game

I love creating new games for my annual halloween party. I found this idea on a birthday blog somewhere-I really should keep links but it's a downfall I just draw out the idea in my idea book and forget where it came from. If it's yours please claim it, I do not take ideas intentionally without saying where they came from..PROMISE. I took several pictures to show the steps that it took to make this cute game. Without further ado here they are for your viewing pleasure :)

What you need:

Board
Spray Paint (optional)
Buckets
Bolt and Nuts
Stencil (optional)
Paint (optional)

Step 1: Find a Board big enough to sit all your buckets on. I had 6 buckets but you can do less or more.
Step 2: Paint the board whatever color you want (I used spray paint)
Step 3: Place buckets on board and trace around them
Step 4: Drill holes in center of circles that you drew on board
Step 5: Drill holes in bottom of buckets. I learned the hard way that you should stack all the buckets together before drilling through the bottom. That way they will not split.
Step 6: Place the bolt on the bottom of the board and then place the bucket on top of it. Then thread on the nut inside the bucket.


Step 5: Look how pretty your work is so far. You could be done right now or you could kick it up a notch as Emeril might say.


Step 6: I like to stencil and paint stuff so I pulled out my Martha Stewart number stamps and my craft paint and stencilled the buckets with #'s.
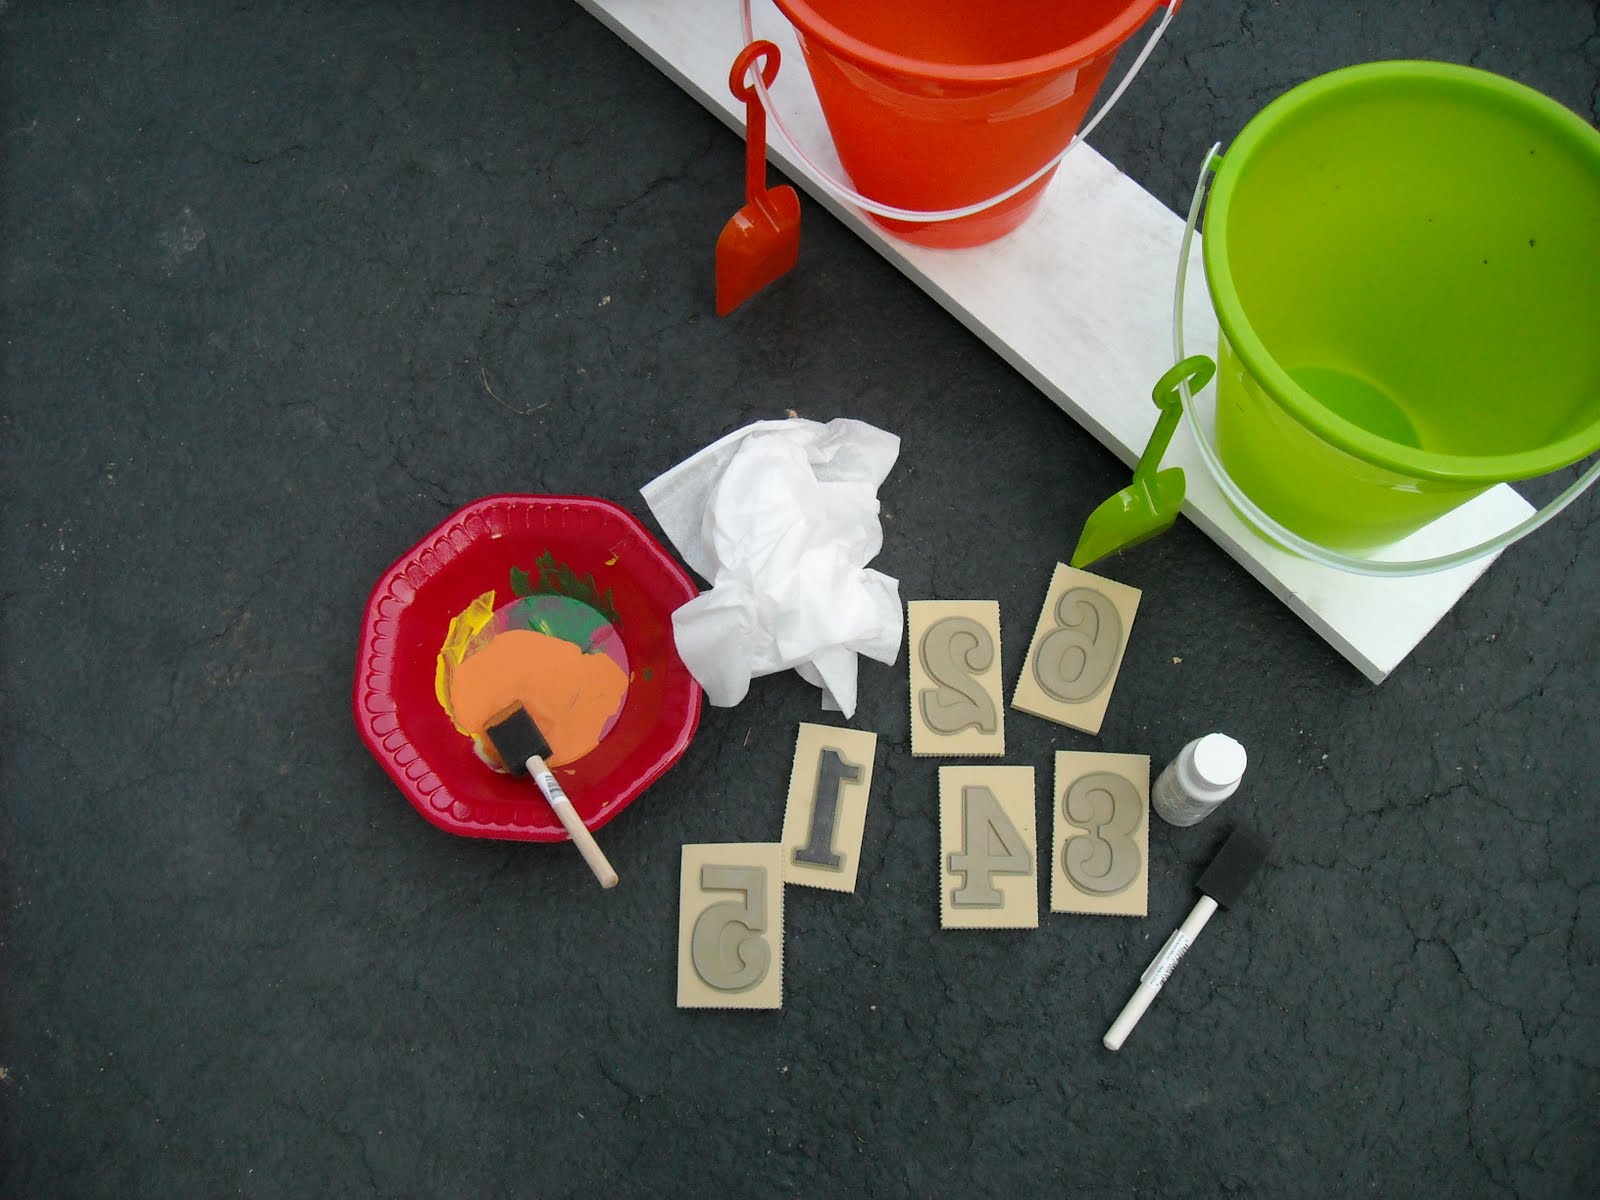


Step 7: Admire your work. Go get some kind of throwing objects(ping pong, bouncy, bean bags) and start playing.


Friday, September 9, 2011

Fun Ways to Learn Multiplication


Natalie is in 3rd grade and they are learning their multiplication tables. She is her mother's daughter in that she gets bored easily :). She mastered her two's by just doing the boring old let's practice your multiplication table and I'll set the timer to one minute on the oven but when it came to 3's she was a fussy mussy. She didn't want to practice them. I tried playing a game in the car where I asked her one and then she asked me one but that only lasted about 5 minutes before the boredom and I don't want to do this syndrome rolled in. I feel for her. I was getting sick of asking them to her as well. So for each set of numbers I plan on coming up with a fun way to learn the set of multiplication tables. So without further ado...Here is week 1 for the 3 times table but you could use it for every # if you want.


Here is what I did for the 3's:


  • Go to Fridge

  • Pull out an Egg Carton

  • remove all Eggs (otherwise this could get messy)

  • Take a pen or sharpie in my case and write the #'s 0-11 in the holes where the eggs go

  • Then write a 12 on the bottom flap

  • Cut off the top of the carton with scissors or it rips off pretty easily

  • Get a piece of candy or some other object that will fit in the holes of the egg carton and start tossing


How to Play


  • Take "tossing object" and throw toward Egg Carton

  • Mom or whoever is over "the game" yells 3 times "whatever # you land in" and the child yells out the number. If the object does not go into a hole that's when they have to answer 3 times 12.


So far we have played 2 nights in a row and my daughter can not get enough of it.

I hope you enjoy this game. Check back for more ideas as we go through the entire multiplication table.

Saturday, September 3, 2011

Easy Halloween Crafts


My daughter is always saying she is bored. So we ripped up some fabric today and started on some halloween crafts. We started with styrofoam bases for the mummy balls and the candy corn cones. We ripped up some fabric and started wrapping it around. I love crafts that don't have to look just right. Here's how we did it:


For the mummy balls we used:

round styrofoam balls

Muslin Fabric

small piece of Black Fabric

Glue
Tape

Scissors

Googly Eyes


tape a piece of small black fabric on ball

start wrapping muslin strips around ball

tuck in end of fabric to finish
glue on googly eyes

Done!

Project time: 20 minutes for 5 balls


Candy Corn Cones

What you need:

Orange Fabric Strips

Yellow Fabric Strips

White Fabric Strips

Cones in various sizes


Rip pieces of fabric in approx 1 inch strips

Start at the bottom of cone and wrap the orange fabric

Overlap next layer of yellow fabric and then white fabric, tuck end of white fabric under

Done!

Project time: 10 to 20 minutes for 3 cones


Give it a try. It's quick, easy, and cute and that's my kind of craft.

Monday, May 9, 2011

Girl Scout Craft Ideas


Scrapbooking:


Scrapbooking is so much fun. It's a great way to document memories. I am over craft ideas for my daughter's girl scout troop and I have been throwing around the idea of a once a month crop for their meetings. I have taken pictures of their group events and I will be getting the prints developed for them. The idea is to have a completed scrapbook of their events by end of the girl scout year. So that being said I was looking around for a list of scrapbook starter kit ideas and didn't find one that I liked so I decided I would come up with one myself and share with you as well.


Each Girl should have a kit that includes at a minimum the following items:


  • Adhesives (I like the roller tape and the glue sticks for age group 7-10)


  • Pop Dots


  • Scissors (small scissors for small hands)


  • Ribbon (several different colors)


  • papers (several different colors)


  • pens


  • Binder to keep finished pages in


  • Bag to keep each girls supplies separated


I will bring weekly:


  • Pictures


  • Stickers or clipart to match theme of pictures


  • Punches(circle, square, and any punches I have relating to theme)


  • Stamps(Letter Stamps, various other stamps that match theme)Ink Pads(only one to two colors a week so the colors do not get mixed and ruin the ink pads)


  • Page samples (since we will have a limited time for crafts at the meetings I will bring samples to show them ideas)


Other optional ideas to bring as needed:


  • hole punch


  • stapler


  • embossing ink pad


  • embossing gun


  • Cricut or other similar device


  • fabric


  • buttons


  • brads


  • Page Kits


  • Paints (Acrylic, puffy, stickles)


  • Brushes


Tea Party Hats


We had a tea party for the girls. We bought plain white and straw hats and let the girl decorate them with feathers, flowers, ribbons, jewels, etc. We manned the hot glue gun so no one got hurt.


Eye Masks for Sleepover


We had a mommy and me sleepover so we created eye masks for the big night. I supplied felt, scissors, and an eye mask pattern and the girls supplied the creativity. They created a mask for themselves and their mothers for the event. After they cut out their designs I took a picture and then later sewed them together with elastic to finish them off.


Simple Fleece Scarfs and Fingernail Painting


For one of our meetings I brought some fleece remants and some fingernail polish. The girls had a blast painting each others nails. The fleece scarfs were very simple to make. The only supplies needed was fleece and scissors. We cut a strip of fleece and fringed the edges.


I am always looking for new crafts to try out with our troop. If you have any ideas please comment and let me know.

Wednesday, March 9, 2011

Caramel Dipped Devils Food Cupcake with Pecan Topping


I love to bake. I don't really like to cook that much but baking that's a different story. No cutting or peeling to be done. Just measuring, mixing, and putting in the oven to wait. It always smells so good and the result is normally delicious. I was making some cupcakes for dessert for a spaghetti dinner at the grade school and was trying to use up the rest of the ingredients I had opened to make one more batch of cupcakes. I found a devils food cake mix and I had some canned pumpkin, condensed milk, a a bag of caramels, and a few pecans. I thought that sounded like a turtle candy so I begin dumping everything into the mixing bowl. Here is the recipe:

Caramel dipped Devil's food Cake Cupcake with pecan topping

-Devils food cake mix
-a small can of pumpkin
-1/2 cup oil
-1 egg

Mix cake mix, pumpkin, oil, and egg with mixer. If too thick add a little water to the pumpkin can and pour a little at a time into the mixture until it's at almost at cake consistency. It can be a little thicker than normal.

Fill cupcake liners and bake at 350 degrees for approx 20 to 23 minutes. Check with toothpick to make sure they are done. The pumpkin makes the cupcakes really moist and you can't taste the pumpkin flavor.

Caramel and Pecan Topping

-bag of caramel bits(or 24 whole caramels)
-1/4 cup of condensed milk
-1/4 cup pecan bits

Melt caramel and condensed milk in candy melter. You could also do this in a saucepan but the candy melter is easier when you dip. Let caramel melt completely before dipping.

Let cupcakes cool. Lay out some wax paper. Dip top of cupcakes in the melted caramel. Immediately place a handful of pecans on top of hot caramel. Let stand for about 5 minutes.

ENJOY!

Pumpkin Cupcakes with Cream Cheese Icing


My favorite dessert of all time is my mom's pumpkin cake with cream cheese icing. It is so good it screams come and eat me while I sleep. After I eat a piece it makes me want to run a mile so I can eat another piece(and I hate to run). This recipe is great during fall but I like to enjoy it all year round. Here's the recipe so you can make a pumpkin cake or cupcake:


Pumpkin Cake
2 cups all purpose flour
2 cups sugar
2 tsp baking soda
1/2 tsp salt
1 tsp cinammon
4 eggs, well beaten
1 cup oil
2 cups canned pumpkin
Mix Well. Bake at 350 degrees. For cake - bake for 1 1/2 hours. For cupcakes - bake for about 25 minutes, check at 20 minutes with toothpick.

Cream Cheese Icing
1 stick butter
8 oz cream cheese
1 lb box conf sugar (if you don't buy boxes like me is 3 3/4 cups of conf sugar)
1 tsp vanilla
Cream butter and cream cheese together. Beat in Conf Sugar. Add vanilla.

Let cake cool and frost. ENJOY!


To create swirly frosting on your cupcake buy a pack of cake decorator bags. Cut the end off about 1/2 inch up and fill with frosting. Squeeze frosting to the bottom of the bag and swirl onto cupcake starting on outside of cupcake and working inward. YUM.


Tuesday, September 14, 2010

Halloween Party Invitation - 2010


Each year I like to create a memorable halloween party invites for our annual Halloween party. The first year we had the party I found the Martha stewart fingers in the boxes and we did that. The next year I decided to try and come up with something on my own and ended up with a creepy box full of googly eyes(I have a link to these somewhere under the halloween catergory :) ) Last year me and my daughter created a creepy skeeleton tomb from a 16 oz bottle and was able to mail it in the bottle to the kids. The loved getting a bottle in the mail..LOL It costs me about $1.25 to mail each one. This year's invitation will be:

CROWS flying the invite to the kids.

I found crows at the dollar store.
I printed off the invitations
Rolled up the invite
Used the crows wire feet to hold the invite in place
and now I'm searching for a suitable container to mail them in.
Here they are waiting to fly off and deliver the invites. Ready...Set...Fly

This was the easiest invitation to put together so far. I think the kids will enjoy their messenger crows when they receive them in the mail.

Happy Halloween!


Get Your Craft On Tuesday

Wednesday, September 1, 2010

Felt Halloween Ornament - Werewolf


I created this felt werewolf halloween ornament for a swap at 2peas. He is created with grey felt, grey fur and black eyes. I made up the pattern myself and I think he turned out so cute...well as cute as a werewolf can be. The fur really makes him look like a werewolf. I started with gray felt in the shape of a werewolf head with ears. Then I sewed on a layer of gray fur along the top of the head. Then I stitched a piece of light gray felt cut in the shape of a U for the face. Then cut circles for the eyes, half circles for the eyelids, triangle for the nose, mouth shape, and teeth shape out of felt and then stitched them on with the machine. Last thing I did was sew on a hanger and some black bead eyes.